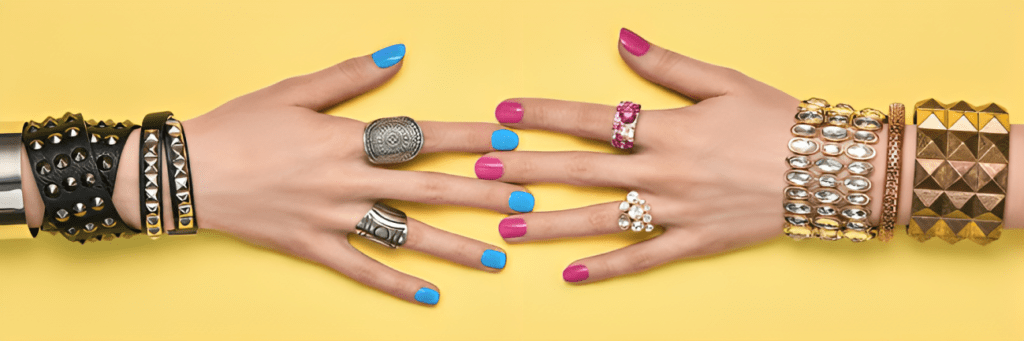
Are you passionate about accessorizing your outfits with unique and personalized pieces? Why not try your hand at making your own handmade jewelry at home? Not only is it a creative and rewarding endeavor, but it also allows you to showcase your individual style. In this guide, we’ll walk you through the process of creating stunning handmade jewelry using common household items. Let’s dive in!
Materials You’ll Need:
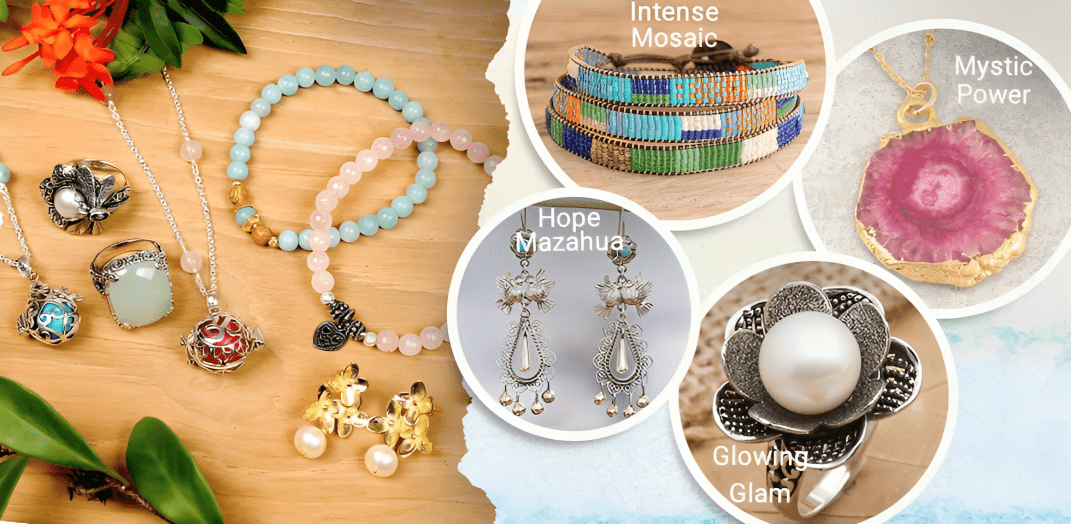
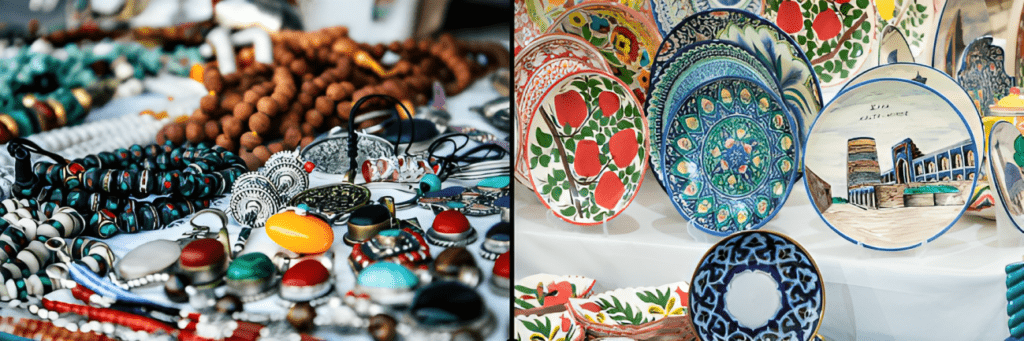
- Beads: Choose a variety of beads in different colors, sizes, and shapes to create eye-catching designs.
- Wire: Get jewelry wire in various gauges to form the base of your jewelry pieces.
- Clasps and Findings: These include jump rings, lobster clasps, and earring hooks to complete your jewelry.
- Pliers: Round-nose pliers, chain-nose pliers, and wire cutters are essential tools for bending, shaping, and cutting wire.
- Charms and Pendants: Add a personal touch with charms that resonate with you.
- String or Cord: Nylon cord, leather cord, or silk thread for stringing beads.
- Design Board or Mat: This helps in organizing your design before stringing the beads.
Step-by-Step Instructions:
1. Choose a Design:
Before you start, have a design in mind. Whether it’s a simple bracelet, an elegant necklace, or a pair of quirky earrings, knowing what you want will make the process smoother.
2. Gather Your Materials:
Collect all the materials you’ll need for your chosen design. Lay them out on your workspace to have easy access.
3. Stringing the Beads:
- Lay your design board or mat in front of you.
- If you’re making a bracelet or necklace, cut the desired length of cord or wire.
- String the beads in the order you’ve planned. You can follow a pattern or go for a random arrangement.
4. Adding Charms and Pendants:
- Incorporate charms and pendants by attaching them to the wire using jump rings. Use pliers to gently open and close the rings.
- Position them within your bead arrangement to create a balanced look.
5. Creating Clasps:
- For bracelets and necklaces, you’ll need a clasp to secure the ends. Attach clasps using jump rings.
- Lobster clasps are easy to use and secure. Attach one end of the clasp to each end of your jewelry piece.
6. Earring Design (If Applicable):
- If making earrings, choose a pair of charms or beads you’d like to hang.
- Attach them to earring hooks using jump rings.
- Ensure the length and balance of the earrings are even.
7. Final Touches:
- Examine your handmade jewelry for any loose ends or sharp edges.
- Use wire cutters to trim excess wire carefully.
- Gently shape any wire loops to ensure they’re secure.
8. Enjoy Your Creations:
Congratulations! You’ve now crafted your very own handmade jewelry. Admire your work and try on your creations. Don’t be afraid to experiment with different designs and techniques as you refine your jewelry-making skills.
Remember, practice makes perfect. The more you create, the more your skills will evolve, and the more unique and beautiful your handmade jewelry will become. Enjoy the journey of self-expression and creativity through jewelry making!
Handmade jewelry is not only a delightful way to express your style, but it’s also a fulfilling craft that allows you to produce one-of-a-kind pieces. By following this guide, you’ve taken the first steps towards becoming a skilled jewelry artisan. Have fun, experiment with various materials, and watch as your creativity shines through in every piece you create. Happy crafting!